Understanding Basics of Studio Lighting Photography Course
Embarking on a studio lighting photography course lays a foundation for mastering the art of controlling light to create stunning images. Understanding the fundamental concepts of studio lighting—from the equipment used to the different lighting setups—can make a significant difference in your photography quality. This section breaks down the key elements essential for beginners and seasoned photographers alike.
Key Equipment and Tools
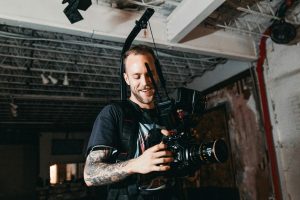
Before diving into the nuances of lighting setups and techniques, it’s crucial to familiarize yourself with the basic equipment that will be the backbone of your photography endeavors. Here are the essential tools you’ll need:
- Camera: Any DSLR or mirrorless camera that allows for manual settings will work.
- Light Stand: A sturdy light stand is vital for supporting your lights securely at various heights.
- Monolights and Strobes: These are your primary light sources; strobes provide powerful bursts of light, while monolights are easier for beginners.
- Softboxes and Umbrellas: These modifiers diffuse the light to create a softer, more flattering effect.
- Reflectors: Used to bounce light and fill in shadows.
- Light Meter: This tool helps measure the intensity of the light and assists in achieving correct exposure.
Lighting Setup Techniques
Mastering different lighting setups can transform your photographs. The most common setups include:
- Three-Point Lighting: This classic setup uses three lights: key light (main light), fill light (to reduce shadows), and backlight (to separate the subject from the background).
- Butterfly Lighting: Frequently used in glamour photography, this involves placing the key light above and in front of the subject to create a butterfly-shaped shadow under the nose.
- Loop Lighting: Formed by positioning the light to the side and slightly above your subject, creating a small shadow of the nose that loops around the face.
- Rembrandt Lighting: Recognized by the triangle of light on the cheek opposite the light source, this setup adds drama to a portrait.
Elements of Composition
Good lighting is only one component of stunning photography; effective composition is equally crucial. Consider the following elements:
- Rule of Thirds: Divides the frame into a 3×3 grid; positioning subjects along these lines creates balance.
- Leading Lines: Use natural lines in your scene to lead the viewer’s eye to your subject.
- Framing: Use elements in your environment to create a frame around your subject, enhancing focus.
- Negative Space: The space around your subject can be powerful; it emphasizes the subject and often contributes to a minimalist aesthetic.
Types of Lighting in Studio Lighting Photography Course
Understanding the different types of lighting used in photography is paramount for achieving desired effects and moods. This section outlines various lighting types and their applications.
Continuous vs Flash Lighting
Choosing between continuous and flash lighting primarily depends on your needs and the scene.
- Continuous Lighting: Beneficial for beginners, continuous lights provide a constant source of illumination, allowing you to see the effects on your subject in real time. They typically come from LED or fluorescent sources.
- Flash Lighting: When you need a powerful burst of light, flash lighting is ideal. It’s commonly used for high-speed photography and can freeze motion, allowing for detailed, crisp images.
Soft vs Hard Light
Understanding the qualities of light will enable you to achieve different moods and effects:
- Soft Light: Produces gentle shadows and minimizes fine details, ideal for portraits as it flatters skin tones. Soft light can be created using diffusers or softboxes.
- Hard Light: Creates strong shadows and pronounced texture, making it an excellent choice for dramatic effects. Hard light is typically generated with direct lighting from a powerful strobe or lamp.
Using Natural Light in a Studio
While studio lighting often revolves around artificial light sources, integrating natural light can enhance your photographic repertoire:
- Utilizing large windows or skylights as a light source adds a unique warmth and dimension to photographs.
- Soft, indirect light during golden hour (early morning or late afternoon) can produce stunning results.
- Experimenting with reflectors to bounce natural light can give you more control over shadows and highlights.
Practical Tips for Your Studio Lighting Photography Course
Ready to dive into actual photography sessions? Here are practical tips that will help facilitate your first studio shoot!
Setting Up Your First Shoot
Preparation is the key to a successful photoshoot:
- Organize your equipment beforehand, ensuring everything is clean and functioning properly.
- Set your backdrop first to create a clear vision of your shoot.
- Establish a lighting chart, documenting your setups for different scenarios to guide you in future projects.
Experimenting with Angles
Don’t be afraid to think outside the box. Try various angles to find the best representation of your subject.
- Utilize the high angle for a larger view of the scene or a low angle to create a sense of grandeur.
- Moving around your subject can reveal different aspects and textures.
- Adjust your lighting as you change angles to maintain consistency.
Adjusting for Different Subjects
Each subject requires different lighting adjustments. Here are some tips:
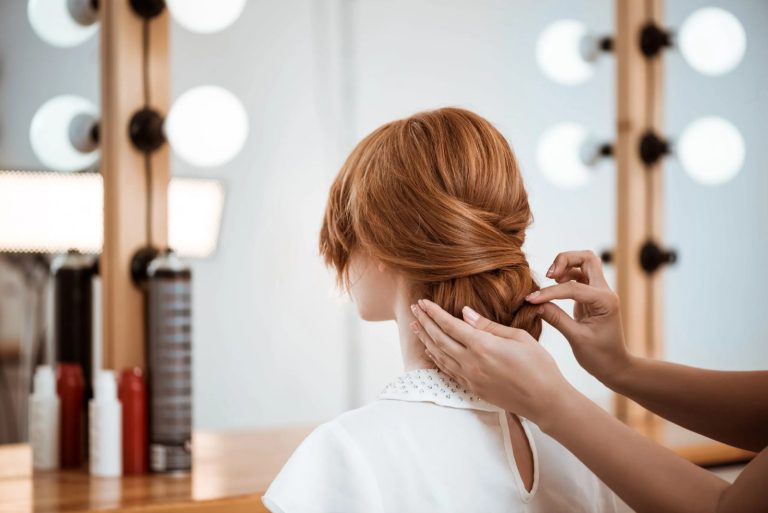
- Portraits may need softer light and more fill to minimize imperfections.
- Food photography often benefits from hard light for texture and detail.
- Product photography should ensure minimal reflection by adjusting light positions as needed.
Common Challenges in Studio Lighting Photography Course
Even seasoned photographers face challenges when dealing with studio lighting. Here’s how to troubleshoot common issues:
Addressing Mixed Lighting Issues
Mixed lighting conditions can lead to unwanted color casts. Here’s how to manage them:
- Utilize gels on your lights to match the color temperature of the ambient light.
- Set your white balance manually for the specific lighting conditions you have.
- Avoid fluorescent light as it often results in harsh color casts.
Overcoming Shadows and Highlights
Shadows and highlights can distract or ruin photographs if not handled properly:
- Use reflectors to fill in shadows while keeping your main light as the focal point.
- Control highlights by adjusting the power of your lights and their distance from the subject.
- Experiment with different light angles to soften harsh shadows.
Maintaining Proper Exposure
Exposure is critical for capturing well-balanced images:
- Consistently check your histogram to ensure that you’re not clipping highlights or shadows.
- Utilize manual mode to control ISO, aperture, and shutter speed based on your lighting.
- Practice bracketing exposures to understand how lighting affects your images and refine your technique.
Evaluating Success in Your Studio Lighting Photography Course
Evaluation is vital for growth in photography. Here are strategic ways to assess your work:
Understanding Image Quality Metrics
Consider the following factors when reviewing image quality:
- Sharpness: Look for clarity and focus in your images.
- Contrast: Evaluate the differentiation between light and shadow in your images for visual impact.
- Color Accuracy: Assess how true-to-life your colors appear in the final output.
Gathering Feedback from Peers
Sometimes an outside perspective can be invaluable:
- Join photography groups or forums to share your work and receive constructive criticism.
- Attend workshops or critiques to interact with other photographers for direct feedback.
- Encourage friends or experienced professionals to review your portfolio.
Making Adjustments for Improvement
Using the insights gained from critiques and metrics, make adjustments by:
- Revisiting past sessions with a critical eye to identify improvement areas.
- Documenting your enhanced techniques and incorporating them into future projects.
- Staying informed with the latest trends and technologies in lighting and photography.
Frequently Asked Questions
What is the importance of lighting in photography?
Lighting is crucial as it affects mood, texture, and depth in an image, influencing how subjects are perceived.
How do I start experimenting with lighting?
Begin with simple setups using household items like lamps, reflectors, and white sheets to diffuse light.
Can natural light be utilized effectively in a studio?
Absolutely! Natural light can enhance texture and warmth; just ensure to control its intensity, especially during harsh conditions.
What type of light is best for portraits?
Soft light is generally preferred for portraits as it minimizes harsh shadows and flatters skin tones.
How can I improve my lighting techniques?
Practice different setups, seek feedback, and continuously learn about new lighting techniques and technologies.